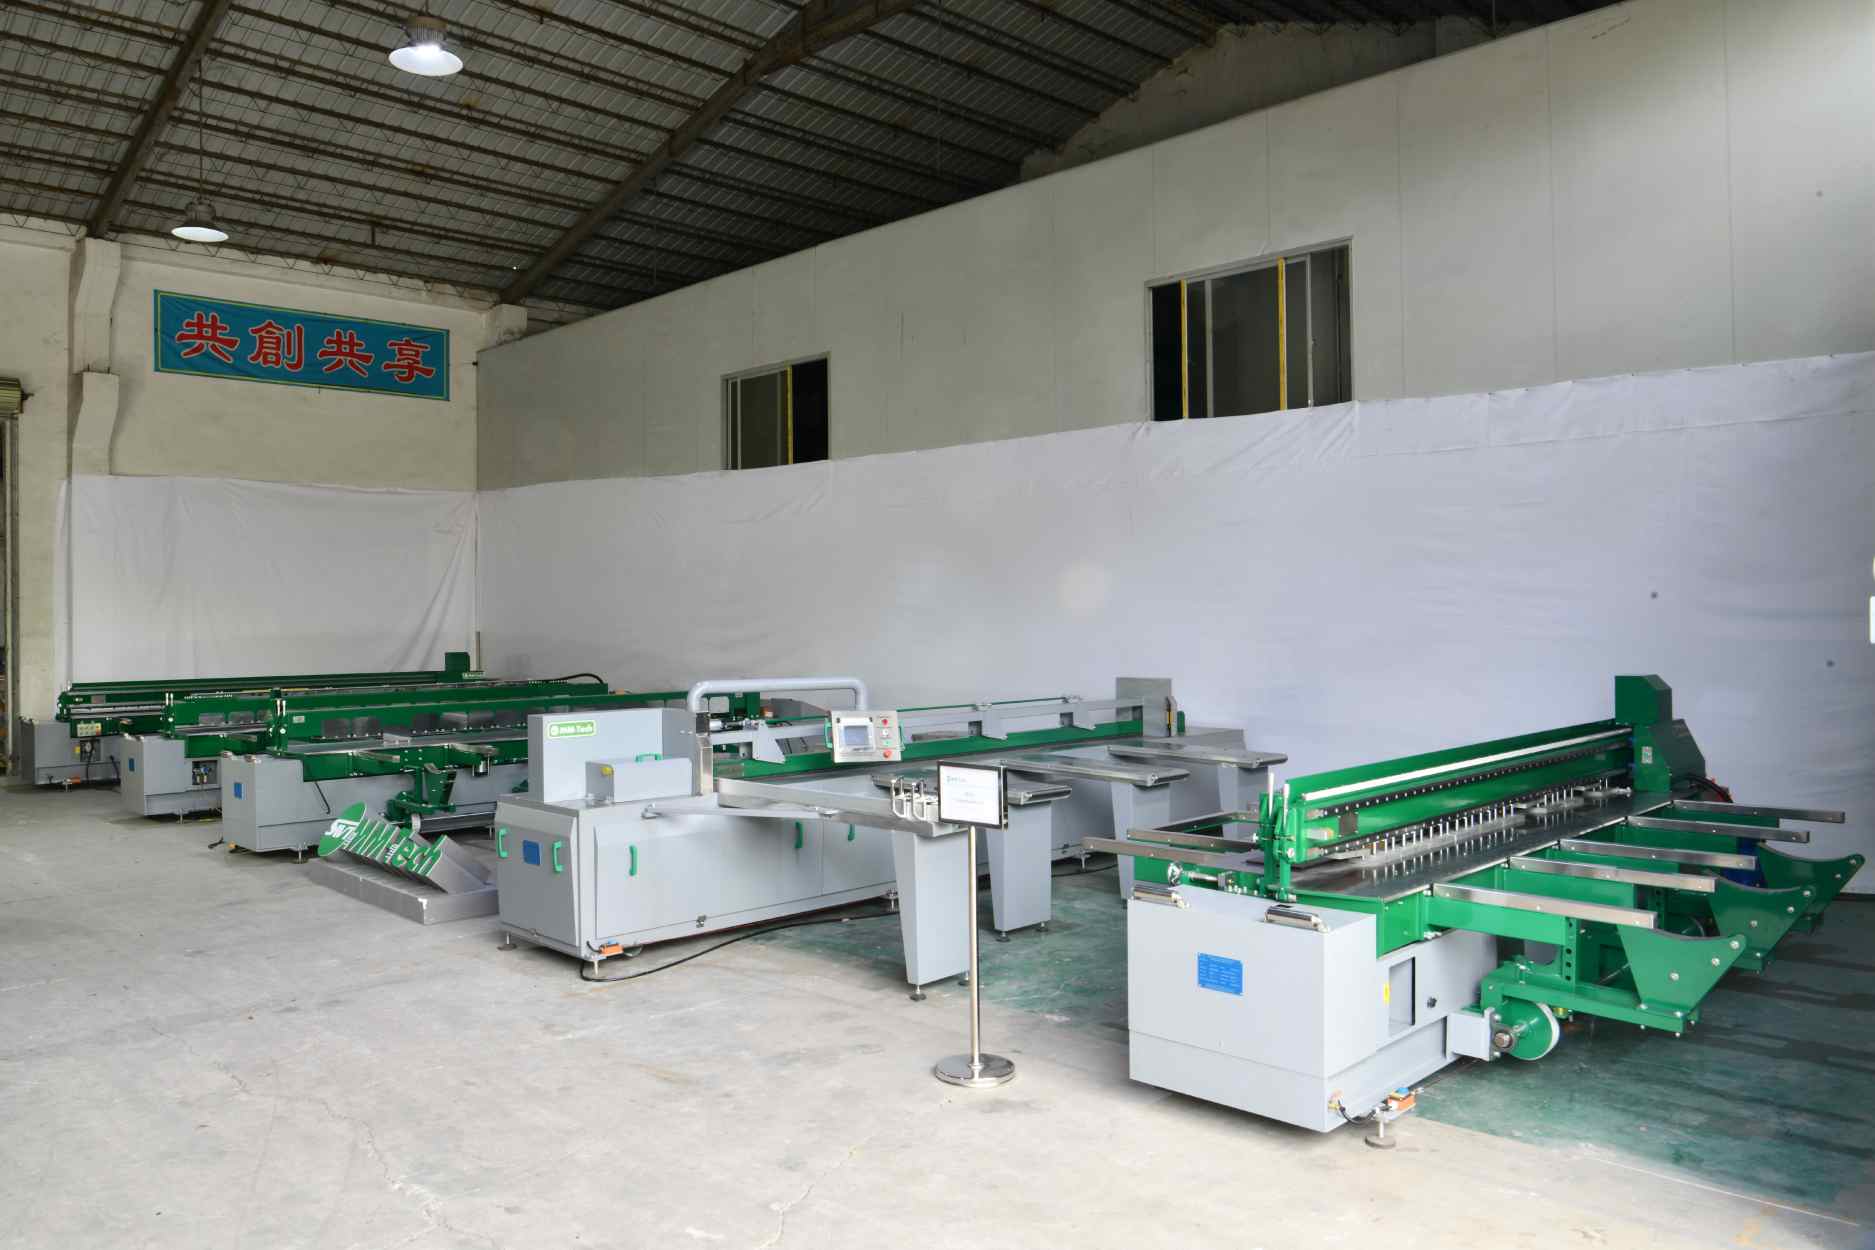
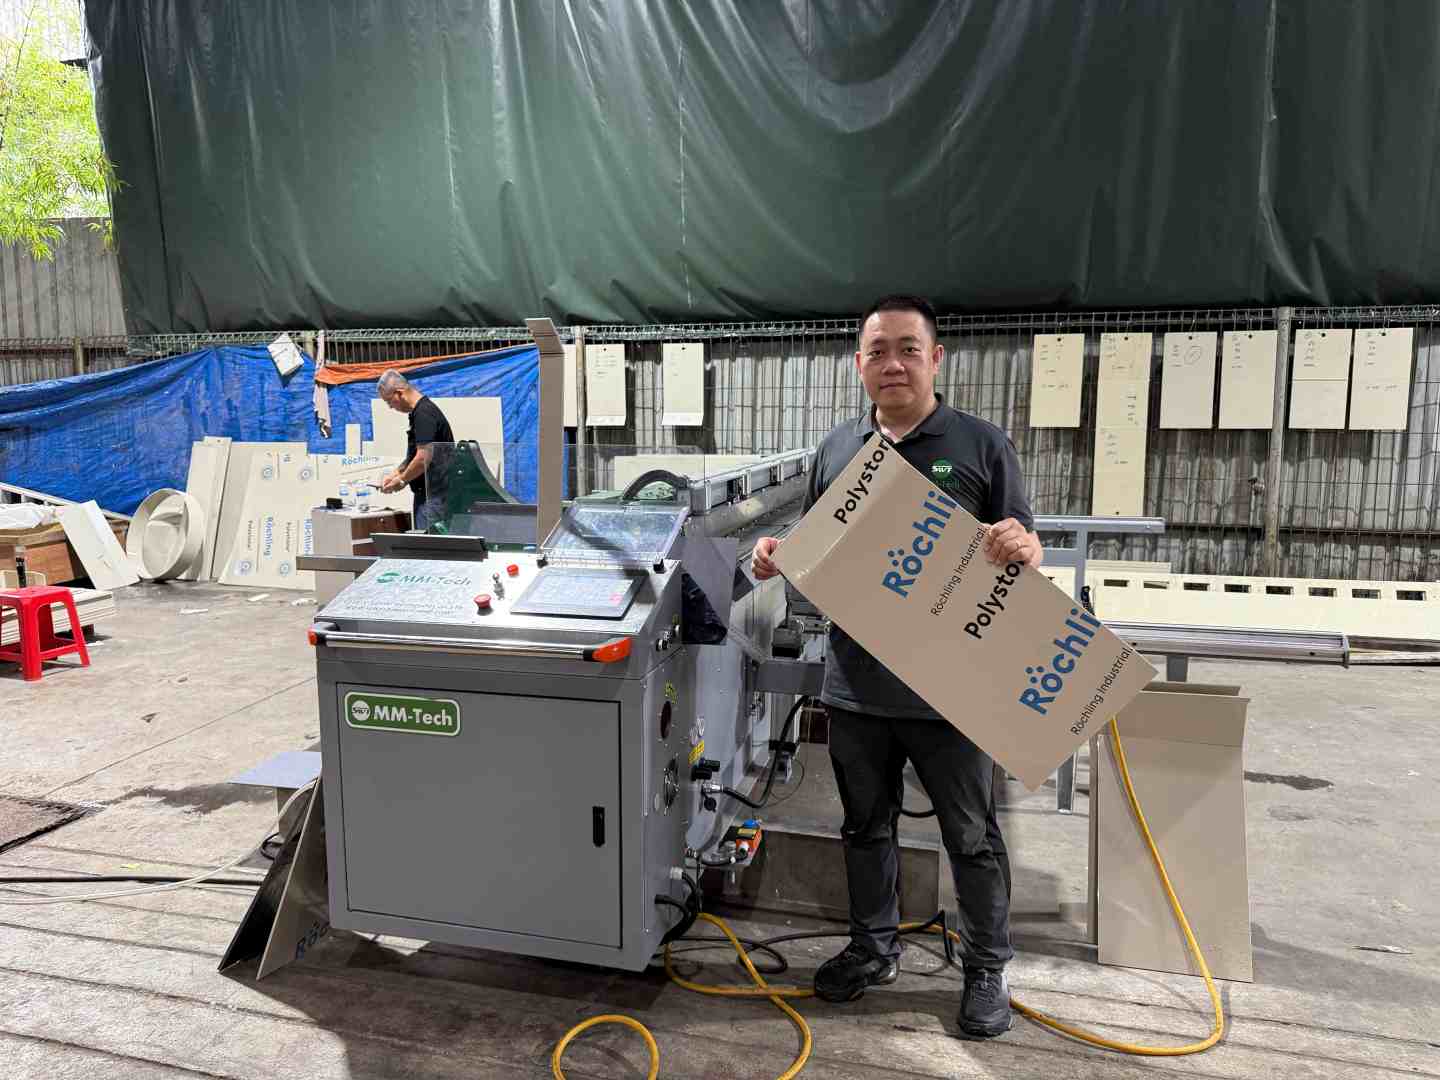
You need easy-to-follow steps when you use an automatic butt fusion welding machine for water supply projects. Safety is very important because you work with hot tools and big machines. You have to check every step to make sure the butt welding machine makes a strong connection. Being safe and careful helps you get good results. MM-Tech gives you smart welding tools that help both beginners and experts.
Key Takeaways
Always put safety first by wearing the right PPE. Make sure your work area is clean and neat. This helps stop accidents and keeps people from getting hurt.
Look over the MM-Tech machine very carefully before you use it. Check if anything is broken. Make sure safety guards are there. Run a test to find problems before welding.
Get HDPE pipes ready by cleaning them well. Cut and line them up the right way. This makes strong joints and stops leaks in water supply jobs.
Follow each step of the butt fusion process. This means facing, heating, and cooling. Every step is important for strong and lasting welds.
Write down details about each welding job. Keep inspection logs and reports. Good records help with quality checks and following rules.
Safety and Preparation for Butt Welding Machine
PPE and Work Area Setup
You must always put safety first before you start any welding job. Wear the right personal protective equipment (PPE) to protect yourself from burns, sparks, and hot surfaces. You need a helmet with a face shield, heat-resistant gloves, a long-sleeve shirt, and sturdy boots. Ear protection helps when you work in noisy areas. Safety glasses keep your eyes safe from flying debris.
Set up your work area so you can move easily and avoid accidents. Keep the floor clean and dry. Remove any items that could cause you to trip. Make sure you have good lighting so you can see your work clearly. Place a fire extinguisher nearby in case of emergencies. Mark the welding zone with warning signs to alert others about the work in progress.
Tip: Always check your PPE before each use. Replace any damaged gear right away to maintain safety.
MM-Tech Machine Inspection
Before you use the MM-Tech automatic butt fusion welding machine, inspect it carefully. Look for any signs of damage or wear on the machine body, cables, and clamps. Check that all safety guards are in place and working. MM-Tech machines come with built-in quality assurance features that help you spot problems early.
Turn on the machine and watch the display for any error messages. The advanced controller and touch screen make it easy to run a quick diagnostic check. Test the emergency stop button to make sure it works. Inspect the DuPont Teflon coated heating plate for a clean, smooth surface. Clean the plate if you see any residue.
You should also check the power supply and connections. Secure all clamps and fittings before you start welding. These steps help you keep safety at the center of your work and ensure the machine runs smoothly.
Pipe Preparation for HDPE Pipe Welding
Cleaning and Inspection
You need to start every hdpe pipe welding job with clean pipes. Dirt, oil, and moisture can weaken the weld. Use a clean, lint-free cloth to wipe the pipe ends. If you see any grease or stubborn dirt, use isopropyl alcohol for better cleaning. Always check the pipe surface for scratches, dents, or cracks. Damaged hdpe pipes can cause leaks after welding.
Industry standards set clear rules for pipe cleanliness before hdpe pipe welding. You should aim for a smooth, polished finish. The table below shows the recommended surface finish for hdpe pipe welding:
Surface Type | Max Ra (μin) | Max Ra (μm) | Surface Finish |
|---|---|---|---|
SF0 | N/A | N/A | Polished by machine |
SF4 | ≤ 15 | ≤ 0.38 | Polished and treated with electricity |
A clean and polished surface helps you get a strong weld. Never skip this step, even if the pipes look clean.
Cutting and Alignment
Cutting the hdpe pipes straight is very important. Use a pipe cutter or a band saw for a smooth, even edge. Uneven cuts can cause gaps during hdpe pipe welding. After cutting, inspect the ends to make sure they are flat and free from burrs.
Proper alignment is the next step. Follow these steps for precise alignment:
Secure the pipe ends in the clamps of the fusion equipment.
Check the alignment from top to bottom to avoid fusion issues.
Adjust the alignment by tightening the higher side to meet the other pipe.
You should also remember these tips:
Proper clamping holds the hdpe pipes steady during welding.
Center the connection between the fixtures for perfect alignment.
Use clamps that fit different pipe diameters.
Inspect clamps to make sure they work well.
Always secure pipes tightly to prevent shifting.
When you prepare hdpe pipes with care, you help ensure a strong joint. This preparation is key for successful hdpe pipe welding in water supply projects. High-density polyethylene pipes need careful handling to meet project standards and last for years.
Setting Up the Automatic Butt Fusion Welding Machine
MM-Tech Controller and Touch Screen
First, turn on the automatic butt fusion welding machine. The MM-Tech controller and touch screen help you work better. The touch screen shows easy menus and simple buttons. You can pick welding settings for different pipe types and sizes. This helps you not make mistakes and saves time.
The controller uses smart automation to keep the heat steady within ±0.5°C. It also controls pressure with a 0.1 MPa step. This gives you strong and clean joints every time. The machine lines up pipes with ±0.02mm accuracy. You can trust the fusion equipment for many pipe types and sizes.
Here is a table with the main features of the MM-Tech controller and touch screen:
Feature | Description |
|---|---|
Advanced Automation | Keeps temperature within ±0.5°C and controls pressure at 0.1 MPa steps. |
User-Friendly Operation | PLC touch screen lets you control and fix problems fast. |
Intelligent Control | Lets you set and save welding settings for different materials. |
You can save your settings for later jobs. The fusion equipment helps you work faster and make fewer mistakes. The automatic features in the fusion machines help you weld better and more accurately.
RFID and Security Features
RFID access keeps your butt welding machine safe. Only trained people can use the fusion equipment. This keeps your work safe and stops others from using it. The RFID system is simple to use. You scan your card, and the fusion equipment opens for you.
RFID also lets you see who used the fusion machines and when. This helps you manage your team and keep good records. The security features protect your automatic butt fusion welding machine and your project data. You can focus on welding because your fusion equipment is safe and ready.
Tip: Always check if your RFID card works before you start. This helps you not waste time and keeps your butt welding machine safe.
Butt Fusion Welding Process Steps
Facing and Heating
You must follow each step in the butt fusion process to get a strong joint. The facing and heating stages are very important. You need to use the automatic butt fusion welding machine correctly to make sure the pipes join well.
Here are the steps you should follow for facing and heating:
Face the pipe. Place the pipe ends in the butt welding machine. Lock them in place. Attach the facing tool. Start the tool and let it reach full speed. Close the pipe ends on the facer. Apply pressure so the tool shaves off thin ribbons from both pipes. Watch for two full turns of ribbon. This means the ends are flat and smooth. Remove the facing tool carefully.
Check the alignment. Open the clamps and check if the pipe ends are even. If they are not, adjust them until they match perfectly.
Heat the pipe ends. Insert the heating plate between the pipes. Lower the pressure to just above drag pressure. This keeps the bead even and avoids pipe restriction. Use a timer to heat the pipes for the right amount of time. The time depends on the pipe size and wall thickness.
Tip: Always wear your safety gear during the facing and heating process. This protects you from hot surfaces and moving parts.
You must keep the process clean and steady. The automatic butt fusion welding machine helps you control the heat and pressure. This makes the fusion process more reliable.
Fusion and Cooling
The fusion and cooling stages finish the butt fusion process. You need to follow the right steps to make sure the joint is strong and safe.
After heating, remove the heating plate quickly. Bring the pipe ends together with the correct pressure. The fusion process needs the right temperature and pressure. The table below shows the best ranges for fusion and cooling:
Stage | Optimal Range |
|---|---|
Fusion | 200-240°C (392-464°F) |
Cooling | At least 11 minutes per inch of wall thickness |
Keep the pressure steady during the fusion process. Watch the bead form at the joint. This bead shows that the fusion is working. Do not move the pipes during this process. Movement can weaken the joint.
Let the joint cool for the right amount of time. Cooling is very important for safety and strength. If you rush this process, the joint can fail. For example, you need at least 11 minutes per inch of wall thickness for cooling. The automatic butt fusion welding machine can help you track the time.
The average time for one butt fusion joint is about 30 minutes.
If you have a project with 3000 feet of 12-inch pipe, you will need about 75 joints. This will take around 53 hours and 45 minutes.
Note: Do not remove the pipe from the butt welding machine until the cooling process is complete. This keeps the fusion joint strong.
You must follow each process step with care. The automatic butt fusion welding machine gives you control and helps you keep each fusion process safe and accurate. When you use the right process, you get a reliable water supply system.
Weld Inspection and Quality Assurance
Visual and Mechanical Checks
You must check every weld to meet standards. First, look at the weld closely. The bead should be smooth and even. There should be no cracks or holes. Uneven spots are not good. Use a flashlight to see all sides. If you spot dirt, clean it right away.
Next, do mechanical checks. Tap the joint gently with a small hammer. Listen for a solid sound. If it sounds hollow, there may be a gap inside. Use a gauge to measure the bead’s size and shape. If the bead is too big or too small, the weld may be weak.
Industry standards help you know if the weld is good. The table below shows important rules:
Criteria | EN/ISO Standards | ASME Standards |
|---|---|---|
Welding Procedure Qualification | Narrow ranges, strict rules | Broader ranges, flexible grouping |
Quality Systems | System-based, full traceability | Code-based, product focus |
Inspection & NDT | ISO 5817, strict control | Section VIII & B31, less strict |
Documentation | Full traceability, frequent checks | Needs WPS, PQR, WPQ, final compliance |
Follow these steps for quality assurance:
Make sure the welder is qualified.
Inspect all materials and supplies.
Confirm the joint fits well.
Check the equipment and settings.
Watch the weld during work.
Clean and check the weld after finishing.
Tip: Always wear gloves and eye protection when you inspect. This keeps you safe from harm.
Common Defects and Solutions
You may find different defects when you inspect. The table below lists common problems and causes:
Defect Type | Cause of Defect |
|---|---|
Porous Appearance | Low rotational speed |
Discontinuity | Lack of melting and mixing |
Flash Defects | High rotation rates |
Surface Irregularities | High traverse speeds |
Cavities | High traverse speeds |
Over Stirring Action | Low traverse speeds |
Lateral Flashes | High heat during welding |
Insufficient Material Mixing | Low heat, poor joining |
Other problems include cold fusion welds, inclusions, mismatch, voids, and lack of fusion. Bad heating cycles can also make joints weak.
You can stop most defects by using good habits. The table below shows ways to fix common issues:
Welding Defect Type | Preventative Measures |
|---|---|
Pores (Porosity) | Clean pipes, use the right shield, set settings |
Unfused Joints | Make sure fusion is complete, use more current |
Slag Inclusions | Use clean rods, remove slag, adjust speed and current |
Undercut | Control current, change angle, slow down speed |
Note: Always use safe tools and habits when fixing defects. Safety is important every time you work.
Troubleshooting and Maintenance for MM-Tech Machines
Error Prevention and Remote Support
You can stop most welding mistakes by using the right steps. The MM-Tech machine has features that help you avoid errors. Some common problems are dislocation, cracks, not welding all the way through, and white spots. Each problem happens for a reason, but you can prevent them. The table below shows the problems, why they happen, and how to stop them:
Fault | Causes | Prevention Methods |
|---|---|---|
Dislocation | Misalignment during assembly, overheating, excessive extension length | Improve equipment rigidity, reduce extension length, limit upper forging allowance, keep error < 0.1mm or 0.5mm thickness |
Crack | Welding high carbon steel with low carbon steel | Preheat, use heat treatment, and apply timely annealing to prevent cracks. |
Failure to weld through | Low interface temperature, not enough pressure or speed | Use the right welding process settings to ensure proper fusion. |
White spot | Unique defect on fracture surface, sensitive to cold bending | Remove by using rapid and strong forging measures. |
Tip: Always check your machine settings before you begin. This helps you stop most mistakes.
MM-Tech machines give you remote support. If you see an error on the touch screen, you can call the support team. They will help you fix the problem fast. You do not have to wait for someone to come to your site. This saves time and keeps your project moving.
Maintenance and Data Management
Doing regular maintenance keeps your MM-Tech machine in good shape. Clean the heating plate, check the clamps, and look at the cables often. The machine has smart tools to help you remember these jobs. You can use work order management and asset registry to organize your work. The table below explains how these tools help you:
Feature | Description |
|---|---|
Work order management | Makes it easy to create, assign, and track maintenance jobs. |
Asset registry | Stores all machine details in one place for easy tracking. |
Condition monitoring | Uses sensors to watch machine health and alert you to problems. |
Predictive maintenance | Looks at data to tell you when to service your machine before it breaks. |
Mobile maintenance functionality | Lets you check and manage tasks from your phone or tablet. |
You can also save up to 10,000 welding reports as PDF files. Use the USB port to move reports to your computer for safe keeping and checking.
By using these maintenance and data tools, you make sure your MM-Tech machine is always ready for your next project.
Best Practices for Reliable Butt Fusion Joints
Operator Training and Certification
You must learn how to use an automatic butt fusion welding machine. Training teaches you the right steps and keeps you safe. You will learn to set up the machine and check the pipes. You also learn how to make strong joints. Many programs teach people about butt fusion welding. These programs show you how to use the equipment and keep a log. They also teach you how to fix pipes.
Here is a table with a popular course:
Course Name | Focus | Learning Outcomes |
|---|---|---|
DVS standards, welding, and pipe installation | Welding techniques, quality tests, butt fusion, pipe repair |
You can get pipe fusion training at your job site. Trainers from the factory will teach you about HDPE and PP pipe systems. You will practice with your hands and learn safety tips. You need this training to meet world standards and pass tests.
Tip: Take training every year. This helps you learn new safety rules and welding ways.
Documentation and Project Records
You need to keep good records for every welding job. Records help you show you did each step right. They also show you care about safety and quality. Good records have welding reports, inspection logs, and pressure test results.
Here are some main reasons to keep records:
Benefit | Description |
|---|---|
Regulatory Compliance | Shows you follow industry standards and safety codes. |
Quality Assurance | Proves your welding process makes strong, reliable joints. |
Cost Efficiency | Helps you avoid rework and project delays. |
Safety | Confirms your welds can handle stress and will not fail. |
The MM-Tech machine can save up to 10,000 welding reports. You can use a USB port to move reports to your computer. This makes it easy to share records with your team or inspectors. Good records help you build trust and pass checks.
Note: Always look for mistakes in your records. Good records help you do better work and keep everyone safe.
You can achieve strong, reliable joints in water supply projects by following these key steps:
Prepare and support pipes.
Clamp and align ends.
Clean, mill, and heat surfaces.
Join and cool pipes completely.
Always focus on safety and thorough inspection. MM-Tech machines offer smart controls, easy data logging, and a two-year warranty, making your work efficient and dependable:
Feature | MM-Tech Mazinger | Other Brands |
|---|---|---|
Data Logging | Yes | Not always |
Warranty | Two years | One year |
Keep learning and follow ISO 12176 and DVS 2207 standards for the best results.
FAQ
What pipe materials can I weld with MM-Tech automatic butt fusion machines?
You can weld HDPE, PP, and PVDF pipes. MM-Tech machines follow international standards, so you get strong joints for many types of water supply projects.
How do I store and access welding reports on the MM-Tech machine?
You can save up to 10,000 welding reports as PDF files. Use the USB port to transfer reports to your computer. This helps you keep records for inspections and project tracking.
What should I do if the machine shows an error code?
Always check the touch screen for error details. You can contact MM-Tech remote support for fast help. The support team will guide you step by step to fix the issue.
Why is cooling time important after welding?
Cooling time lets the joint set and become strong. If you move the pipe too soon, the weld may fail. Always wait for the recommended cooling period before removing the pipe.