Skip to content
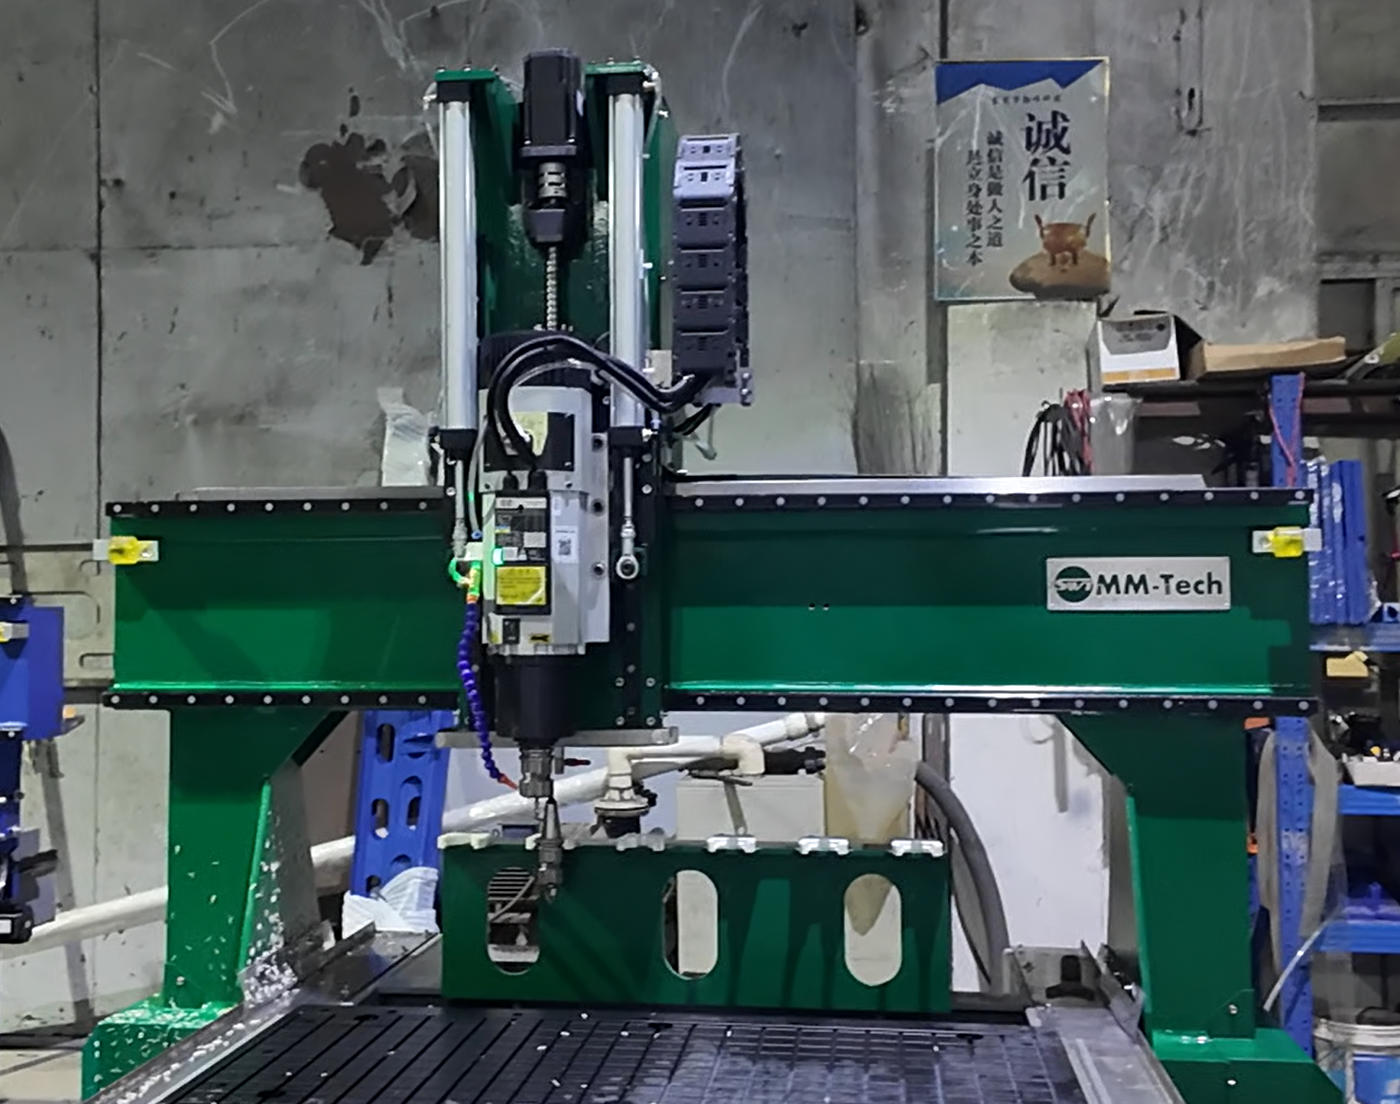
You want the best results when you use a CNC Router for HDPE sheet. Start by picking the right tool, set proper speed and feed rates, and focus on chip removal. Clear chips quickly to avoid melting the plastic. Use sharp bits and keep your work area clean. HDPE stays popular because it resists moisture and cuts smoothly. You can achieve clean edges and reduce tool wear with these simple steps.
Key Takeaways
Select the right bit for CNC routing. Use sharp, carbide bits designed for plastics to achieve clean cuts and reduce tool wear.
Maintain proper speed and feed rates. A lower RPM with a higher feed rate prevents melting and ensures smooth edges.
Secure your HDPE sheets firmly. Use clamps or a vacuum table to avoid movement during routing, which can lead to rough cuts.
Manage chip removal effectively. Use a vacuum or air blast to clear chips quickly, preventing heat buildup and maintaining cut quality.
Perform shallow cuts with multiple passes. This technique helps control heat and improves the overall finish of your HDPE parts.
HDPE Sheet Properties
Why HDPE Is Used
You often see HDPE in CNC routing because it offers many advantages. Manufacturers choose HDPE for several reasons:
Strength-to-Weight Ratio: HDPE gives you a strong material that stays lightweight. You can use it for parts that need to be tough but not heavy.
Processability: You can machine HDPE easily. It cuts cleanly and does not wear down your tools quickly.
Chemical Resistance: HDPE stands up to many harsh chemicals. You can use it in places where acids or bases might damage other plastics.
Impact Resistance: HDPE absorbs shocks well. It does not crack easily, so you can use it in demanding environments.
Low Moisture Absorption: HDPE does not swell or break down when it gets wet. You can use it outdoors or in wet areas without worry.
Recyclability: You can recycle HDPE. This helps reduce waste and makes it a more sustainable choice.
Tip: HDPE’s chemical resistance means you can use it for projects that face tough conditions. It lasts longer and needs less maintenance than many other plastics.
Material Characteristics
You need to know the key properties of HDPE before you start routing. Here is a table showing important mechanical and thermal properties:
Property | Value | Test Method |
|---|---|---|
Density | 0.941-0.965 g/cm³ | ASTM D792 |
Tensile Strength (Yield) | 26-33 MPa | ASTM D638 |
Flexural Modulus | 800-1,400 MPa | ASTM D790 |
Melting Point | 120-130°C | ASTM D3418 |
Thermal Expansion Coefficient | 100-130 × 10⁻⁶/°C | ASTM E831 |
When you compare HDPE to other plastics, you see that it has a higher density and melting point than LDPE. This makes HDPE more stable during CNC routing.
Property | HDPE | LDPE (for comparison) |
|---|---|---|
Density (g/cm³) | 0.941-0.965 | Lower than HDPE |
Melting Point (°C) | 120-130 | Lower than HDPE |
HDPE’s high melting point helps you avoid unwanted melting during cutting. Its low moisture absorption and strong chemical resistance make it a top choice for many CNC projects.
CNC Router for HDPE Sheet: Tool Selection
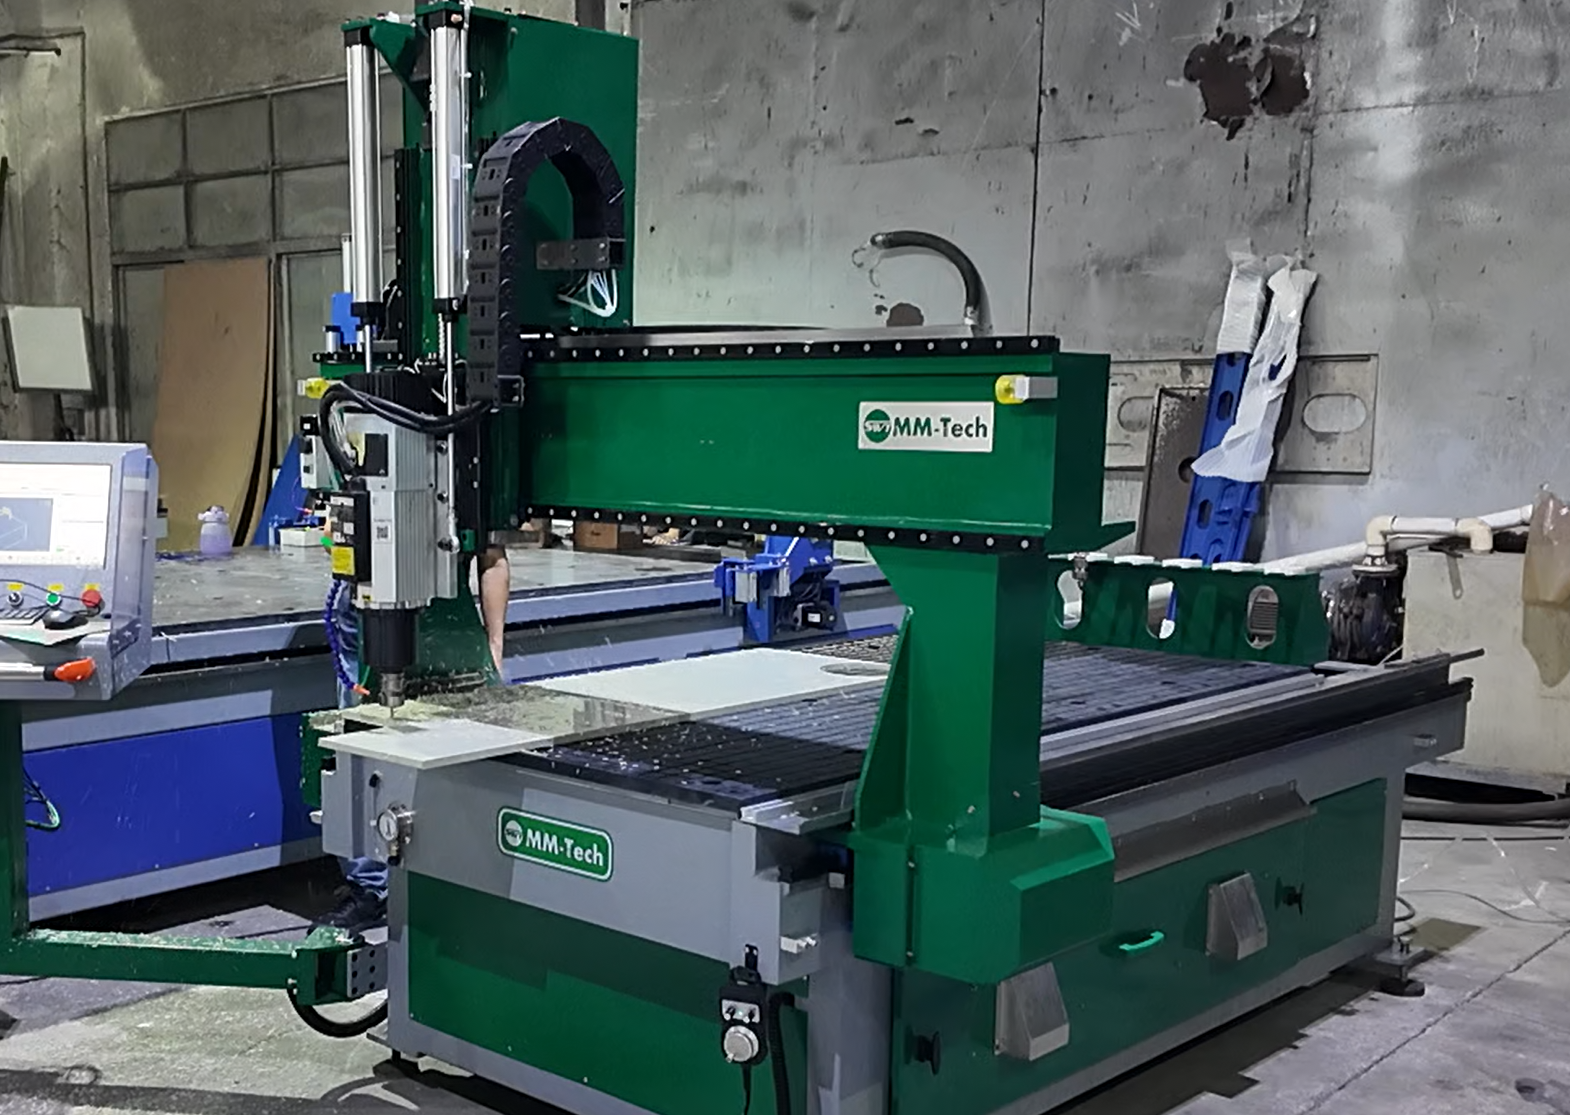
Choosing the Right Bit
You need to pick the right bit for your CNC Router for HDPE sheet. The bit you choose will affect the quality of your cut and the life of your tool. Many users find that standard straight 2-flute carbide bits work well. These bits give you a clean cut and last a long time. You can also use bits made just for plastics. These bits help you avoid melting and rough edges.
Here are some common bit types you can use with a CNC Router for HDPE sheet:
Upcut spiral bits pull chips up and away. They keep the bottom edge clean.
Downcut spiral bits push chips down. They protect the top surface and give you a smooth finish.
O-flute bits work best for plastics. They move chips out fast and stop melting, even at high speeds.
Upright flute bits suit soft plastics like HDPE and LDPE.
You should avoid using wood or metal bits. These bits can cause rough edges or even melt the plastic. Always check the bit’s label to see if it is made for plastics.
Tip: Try a small test cut with your chosen bit. This helps you see how the bit performs before you start your main project.
Bit Material and Flute Type
You should look for carbide bits when you use a CNC Router for HDPE sheet. Carbide stays sharp longer than steel. It also handles the heat from cutting plastic. For most jobs, a 2-flute bit gives you the best balance between chip removal and cut quality. More flutes can trap chips and cause melting. Fewer flutes may not cut as smoothly.
O-flute bits have a special shape. They clear chips quickly and keep the plastic cool. This makes them a top choice for HDPE. If you want clean edges and less tool wear, always use bits designed for plastic.
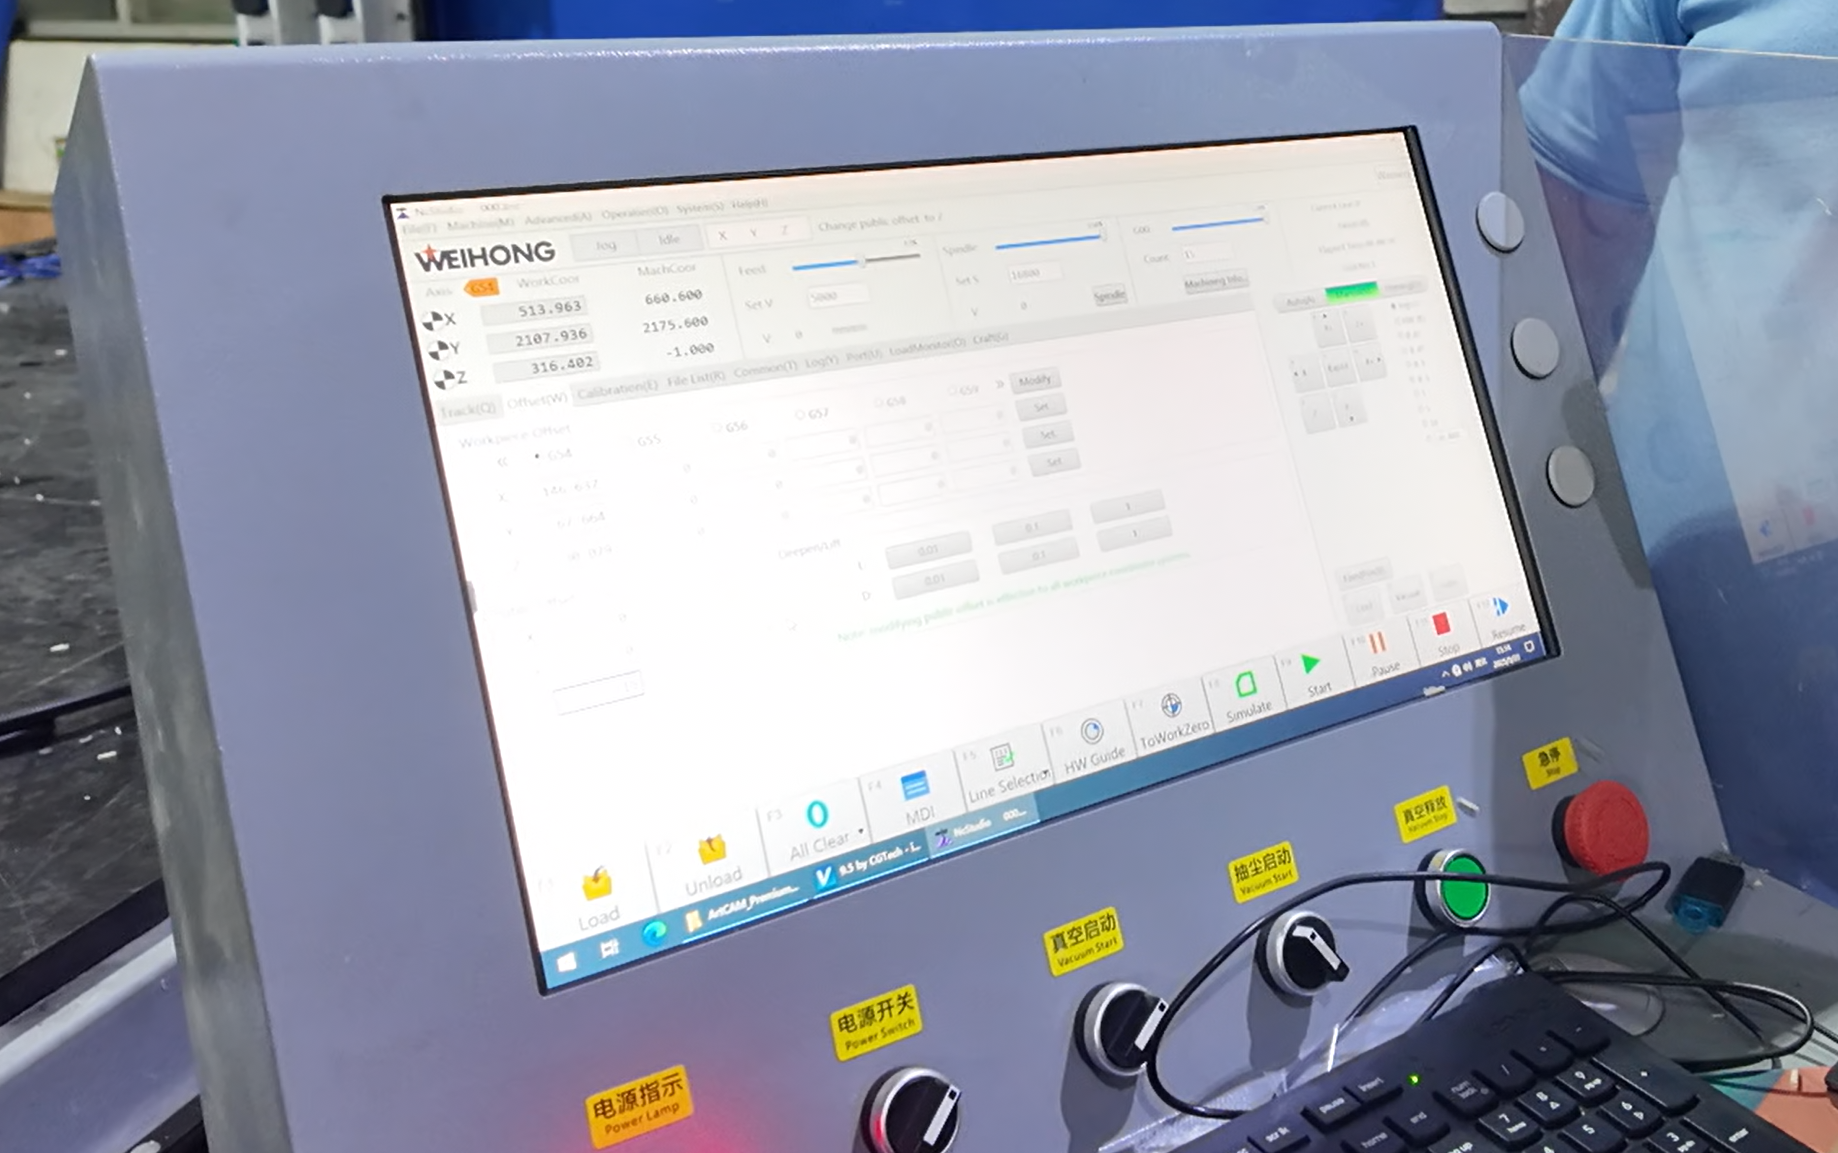
CNC Router for HDPE Sheet: Settings
Optimal RPM and Feed Rate
You need to set the right RPM and feed rate when you use a CNC Router for HDPE sheet. These settings help you avoid melting and get clean cuts. HDPE melts easily if you use the wrong speed or move too slowly. You want to keep the plastic cool and the chips moving away from the bit.
Use a lower RPM and a higher feed rate. This keeps the bit from getting too hot.
Try to use the sharpest bit you have. Dull bits create more friction and heat.
A good starting point is 10,000 RPM with a feed rate of 70 inches per minute. This setting works well for many plastics and helps prevent melting.
If you see melted edges, slow down the RPM or speed up the feed rate.
Tip: Fast feed rates work better for HDPE than slow ones. You want to move the bit quickly through the material so heat does not build up.
Here is a table to help you choose the right feed rate for different sheet thicknesses:
Material Thickness | Feed Rate (IPM) |
|---|---|
1/8″ (3mm) | 70 – 110 |
1/4″ (6mm) | 145 – 220 |
3/8″ (10mm) | 200 – 290 |
1/2″ (12mm) | 270 – 360 |
You can also see the recommended feed rates in this chart:

For most projects, you should use a feed rate between 2,000 and 3,500 mm/min. This is much faster than what you would use for hardwood. Fast feed rates help you avoid heat buildup and melting.
Depth of Cut and Passes
You need to set the right depth of cut when you use a CNC Router for HDPE sheet. If you cut too deep in one pass, you will create too much heat. This can melt or warp the plastic. Shallow passes keep the material cool and protect your tool.
Take shallow passes, about 2–3 mm (1/16–1/8 inch) deep. This helps you avoid heat buildup.
Use a multi-pass strategy. Make several shallow cuts instead of one deep cut.
The maximum depth you should cut in one pass is about 1 inch (25 mm), but most jobs need much less.
“Decided to convince my client that 1″ was as deep as I could go with HDPE.”
Here is a table to show how different pass types affect your results:
Pass Type | Depth of Cut | Purpose |
|---|---|---|
Roughing Pass | Larger depth of cut | Removes bulk material quickly, but leaves a rougher surface. |
Semi-Finish Pass | Shallower depth of cut | Refines the surface and fixes rough spots from the first pass. |
Finish Pass | Very shallow depth of cut | Gives you a smooth surface and keeps heat low. |
If you cut too deep, you will see more heat and possible melting.
Shallow, repeated passes spread out the heat and protect your HDPE sheet.
Note: Always check your chips. If you see melted chips or rough edges, reduce your depth of cut or increase your feed rate.
When you set your CNC Router for HDPE sheet, remember these rules. Use a lower RPM, a higher feed rate, and shallow passes. These steps help you get clean edges, avoid melting, and keep your tools sharp.
Workpiece Setup and Chip Management
Securing HDPE Sheets
You need to keep your HDPE sheet steady during CNC routing. If the sheet moves, you will not get clean cuts. Use clamps or a vacuum table to hold the sheet in place. Make sure the sheet lies flat on the machine bed. If you see any gaps, add more clamps or use double-sided tape for extra grip. A secure workpiece helps you avoid chatter and rough edges.
Tip: Always check your clamps before you start the machine. Loose clamps can cause the sheet to shift, which may ruin your project.
You can also use a sacrificial board under your HDPE sheet. This board protects your machine bed and gives you a flat surface for clamping. Choose a board made from MDF or plywood for best results.
Chip Evacuation Techniques
When you cut HDPE, chips build up fast. You must remove these chips to keep your workspace clean and your cuts smooth. If chips stay in the cut, they can clog the bit. This causes more friction and heat, which can melt the plastic and wear out your tool quickly. Tools with fewer flutes help clear chips better, which keeps the plastic cool and improves the surface finish.
You can use a shop vacuum or a dust collection system to pull chips away as you cut. Many CNC users prefer vacuum systems because they have no moving parts and do not need electricity. These systems send chips straight into a drum and work quietly. Here is a table showing some features of common vacuum systems:
Feature/Advantage | Description |
|---|---|
Applications | CNC’s, Lathes, Saws, Mills, Drills, Grinders, Routers, Molding machines, Absorbent pick-up |
Advantages | No moving parts, Low cost, No motors to clog or wear out, No electricity, Chips go directly into a drum, Powerful direct flow action, Includes accessories, 50% quieter than electric vacs |
Note: Keep a steady, moderate cutting pace. If you move too slowly, friction increases and the plastic may melt. If you move too quickly, you might lose control or miss chips. Find a balance for the best results.
Drilling and Edge Quality
Peck Drilling Method
You want clean holes when you drill HDPE sheets. Peck drilling helps you achieve this. Peck drilling means you drill a small depth, pull the bit out, and then drill again. This method stops ribbon chips from wrapping around the bit. It also prevents melting along the hole walls.
Peck drilling works best for holes deeper than three times the diameter.
Drill between 1/16″ and 1/8″ per peck. This keeps chips from sticking to the bit.
If you try deeper pecks, like .1875″, you may see more material stuck on the bit.
Use high feed rates, between 1,000 and 3,000 mm/min, to remove chips quickly.
Run your spindle at 1,000 to 3,000 RPM for better edge quality and hole accuracy.
Tip: Peck drilling keeps the bit cool and clears chips. You avoid melting and get cleaner holes.
Achieving Clean Edges
You want smooth edges on your HDPE parts. The right finishing techniques help you avoid roughness and fraying.
Use the largest diameter bit with straight flutes. This gives you smoother cuts.
Try a down cut bit if you see fraying along the edges.
Make a rough cut first, then follow with a finishing pass. This improves the surface.
If you notice rough edges after routing, use a quick pass with a torch. The heat smooths the plastic.
Technique | Result |
|---|---|
Large diameter bit | Smoother edge finish |
Down cut bit | Less fraying |
Finishing pass | Cleaner surface |
Torch smoothing | Removes roughness |
Note: Always check your edges after cutting. If you see rough spots, use a finishing pass or torch to fix them. Smooth edges make your parts look professional and last longer.
Troubleshooting Common Issues
Preventing Melting
You may notice melting when routing HDPE. This happens if the tool gets too hot or chips do not clear away. You can control melting by adjusting your feed rate and keeping your tools sharp. The table below shows the main causes of melting and how they affect your work:
Cause of Melting | Explanation |
|---|---|
Control feed rates and tool sharpness | Limiting heat buildup and melt smearing during routing. |
Excessive thermal exposure | Reduces material stability and harms mechanical properties. |
Control heat during cutting | Protects crystalline structure and avoids surface smearing. |
To keep HDPE cool, you can use compressed air or a water mist. Compressed air works for most jobs and clears chips fast. Water or mist helps with deep drilling. See the table below for more details:
Cooling Method | Description |
|---|---|
Compressed Air | An active air blast clears chips and cools the tool interface. |
Water/Mist | Used for deep drilling to lubricate and flush chips away. |
Tip: Always check your chips. If you see melted chips, increase your feed rate or add an air blast.
Minimizing Tool Wear
You want your tools to last longer and cut cleanly. Sharp tools with polished edges work best for HDPE. You should remove chips quickly using compressed air or a vacuum. This keeps the tool cool and prevents long, stringy chips from wrapping around the bit.
Use sharp cutting tools with polished edges.
Remove chips with air blast or vacuum.
Sharpen or replace worn tools often.
Use coolant or compressed air to keep tools cool.
Regular tool checks help you spot dull bits before they cause problems.
Fixing Surface Finish Problems
You may see rough edges, fuzz, or wavy walls after routing. These problems have simple solutions. The table below lists common surface finish issues, their causes, and how to fix them:
Surface Finish Problem | Causes | Solutions |
|---|---|---|
Chatter/wavy walls | Poor workholding, tool stick-out, vibration | Improve fixturing, reduce tool stick-out, change toolpath. |
Part cups/bows (“Potato Chipping”) | Stress imbalance, thermal effects, uneven machining | Machine both sides evenly, use stress-relieved sheet, reduce clamping. |
Glossy/smeared edge, melted “re-weld” | Rubbing, low chip load, trapped chips | Increase feed rate, reduce RPM, use O-flute bit, add air blast or vacuum. |
White fuzz/hair on edge | Dull tool, wrong geometry, light pass | Sharpen/replace bit, change geometry, increase chip load, adjust direction. |
For a smoother finish, try a smaller bit with finer stepovers. Add a final cleanup pass. You can also use a heat gun to smooth fuzzy edges. A hand plane or router works well for flat surfaces, but sandpaper may clog.
If you see rough spots, adjust your cutting method or tool. Small changes can make a big difference in your results.
Practical Tips and Checklist
Quick-Reference Guide
You can improve your CNC routing results with a few simple habits. Many experienced machinists follow these steps every time they work with HDPE sheets:
Manage Heat: Choose the right cutting speed. This keeps the material cool and stops it from warping.
Pick the Right Tool Material: Use high-speed steel or carbide tools. These tools last longer and give you cleaner cuts.
Set a Medium Cutting Speed: Start with a medium speed. This helps you balance heat and efficiency.
Adjust Feed Rate: Find a good feed rate. This gives you a smooth surface and keeps your tool from working too hard.
Use a Cooling System: Add coolant or air to your setup. This spreads out heat and makes your surface look better.
Keep Tools Sharp: Use sharp, high-quality tools. Dull tools can crack the surface.
Control Vibration: Clamp your material tightly. This stops vibrations and keeps your cuts clean.
Plan Your Tool Path: Think about your tool path before you start. A smart path avoids extra stress on the plastic.
Tip: Always check your setup before you start. A few minutes of planning can save you hours of fixing mistakes.
Real-World Recommendations
You can use this checklist before each job to make sure you get the best results:
Checklist Item | Description |
|---|---|
Ensures clean cuts | |
Correct feed and speed set? | Prevents overheating and material damage |
Material clamped securely? | Avoids movement during routing |
Edges cleaned and deburred? | Improves finish quality |
Material sourced from certified supplier? | Ensures material quality and consistency |
You should check each item before you start your CNC router. This habit helps you avoid common problems like melting, rough edges, or tool wear. You will see better results and waste less material.
✅ If you follow this checklist, you will get consistent, high-quality parts every time.
You can achieve great results when you route HDPE sheets if you follow a few key tips:
Choose high-quality, CNC-ready HDPE for cleaner cuts and less waste.
Use a polished single-flute O-flute bit to manage chips.
Control heat by adjusting chip load and feed rates.
Secure your material and keep your tools sharp.
Always check your checklist before starting.
Try different settings to see what works best for your project.
HDPE works well for many uses, from packaging to agriculture. Keep learning and experimenting to improve your skills! 🚀
FAQ
What is the best bit for cutting HDPE on a CNC router?
You should use a sharp, single-flute O-flute or a straight 2-flute carbide bit. These bits clear chips well and keep the plastic cool. You get cleaner edges and less melting.
How do you stop HDPE from melting during routing?
Set a high feed rate and a low RPM. Use sharp tools and clear chips with air or a vacuum. If you see melting, increase your speed or add cooling.
Can you use coolant when routing HDPE?
Yes, you can use compressed air or a water mist. These help keep the tool and material cool. You avoid melting and get better surface finishes.
Why do my HDPE edges look rough after cutting?
Dull tools, slow feed rates, or poor chip removal cause rough edges. Try a finishing pass with a sharp bit. You can also use a heat gun to smooth the edges.
Is HDPE safe to machine indoors?
Yes, HDPE is safe to machine indoors. It does not produce harmful fumes. Always use dust collection or a vacuum to keep chips off the floor and out of the air.