You want strong and leak-free pipe connections with the ppr welding machine. It is important to follow every welding step. If you do it right, leaks drop from 3% to only 0.1%. People often make mistakes like overheating or not lining up pipes well. Rushing the job is also a problem. Avoid these mistakes to get good results every time.
Wichtige Erkenntnisse
Ihre workspace and tools ready before you begin. A tidy and neat area helps stop errors and keeps you safe.
Folgen Sie jedem Schritt der welding process closely. Good heating, lining up, and cooling are important for strong joints that do not leak.
Check your welds after they cool down. Make sure the surfaces are smooth and the color looks even to have a good connection.
PPR Welding Machine Setup and Preparation

Checkliste für Werkzeuge und Materialien
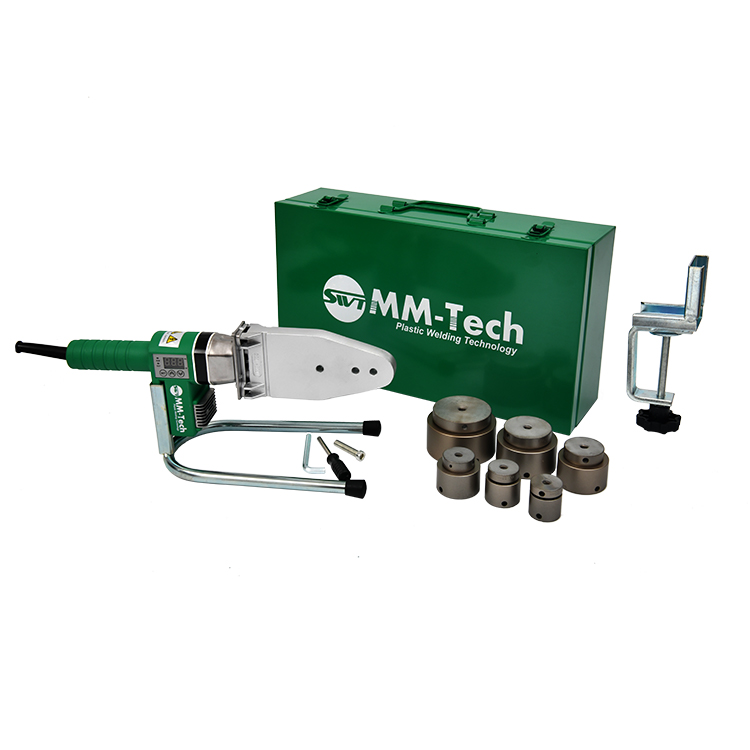
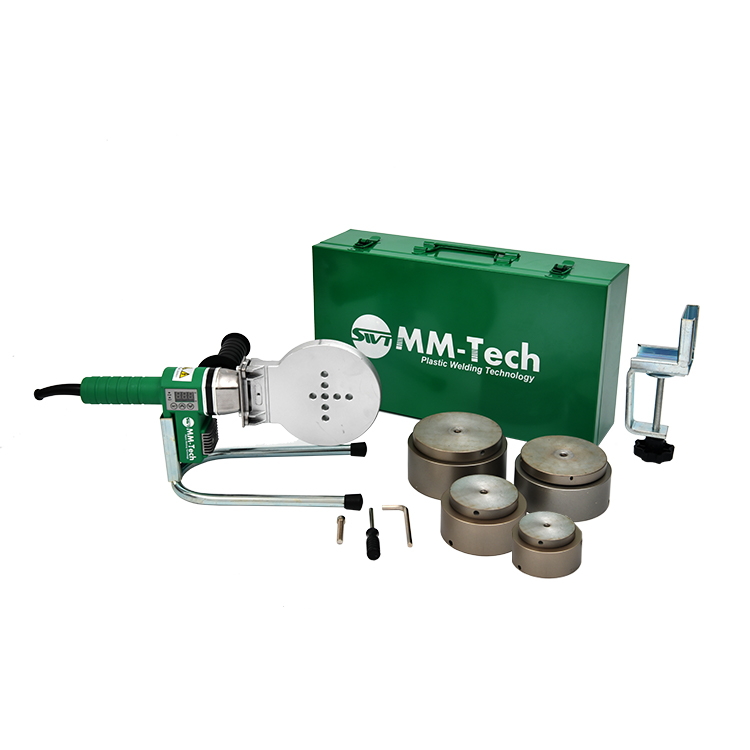
Du brauchst das richtige Werkzeuge to set up the welding machine. Gather all tools before you begin. This helps you save time and avoid mistakes. Here are the materials you need for welding:
Pipe cutting tools
Perlenentferner
Squeeze tools
Pipe roller support
Pipe peeler
Test pump
You also need PPR pipes and fittings. Make sure everything is ready to use. When you prepare well, you do not waste time and your work is better.
Vorbereitung des Arbeitsplatzes
You must get your workspace ready for safe welding. Clean the area and keep it neat. Wear safety glasses, gloves that resist heat, and protective clothes. Good airflow keeps you safe from fumes. Check the temperature in the workspace. Line up the pipes before you heat them. These steps help you avoid weak joints and accidents.
Machine Assembly and Calibration
Set up the welding machine by following the instructions. Look at the machine for leaks and tighten bolts. Clean the planing tool and heater. Make sure the pipe ends and heating plate are clean. These steps help you get ready for welding and make starke Schweißnähte. Check your safety gear before you start.
Tip: MM-Tech PPR welding machines have a one-year warranty. They meet CE and ISO rules for safety and quality.
Maschinentyp | Garantiedauer |
|---|---|
PPR Welding Machines | 2 Jahre halten. |
Muffenschweißmaschinen | 2 Jahre halten. |
Zertifizierung / Standard | Beschreibung |
|---|---|
CE Certification | Gesundheits-, Sicherheits- und Umweltschutzstandards |
DVS2207 – 1 | HDPE welding standards |
DVS2207 – 11 | PP welding standards |
DVS2208-1 | PPR welding standards |
Step-by-Step Welding Procedure for PPR Pipe Fittings
Pipe and Fitting Preparation
You want to achieve perfect pipe to pipe weld results. Start by preparing the PPR pipes and preparing the PPR fittings with care. Use a sharp pipe cutter to make clean, straight cuts. Remove burrs with a deburring tool. Clean every surface with a lint-free cloth. Make sure you remove oil, rust, paint, moisture, and dirt. These contaminants can weaken the fusion and cause leaks.
Choose a cleaning agent like Weld-On® C-65™ Cleaner to wipe away grease and oil. Always store your pipes and fittings in a dry, cool place away from sunlight. This prevents material degradation and keeps your welding process smooth.
Hinweis: Surface preparation is often neglected, but it is vital for a strong fused joint. Clean, dry, and smooth surfaces help you avoid weak spots and leaks.
Welding Procedure: Heating and Joining
Follow this step-by-step welding procedure to get strong, leak-free joints:
Mark the insertion depth on the pipe. This helps with the correct positioning of the pipe.
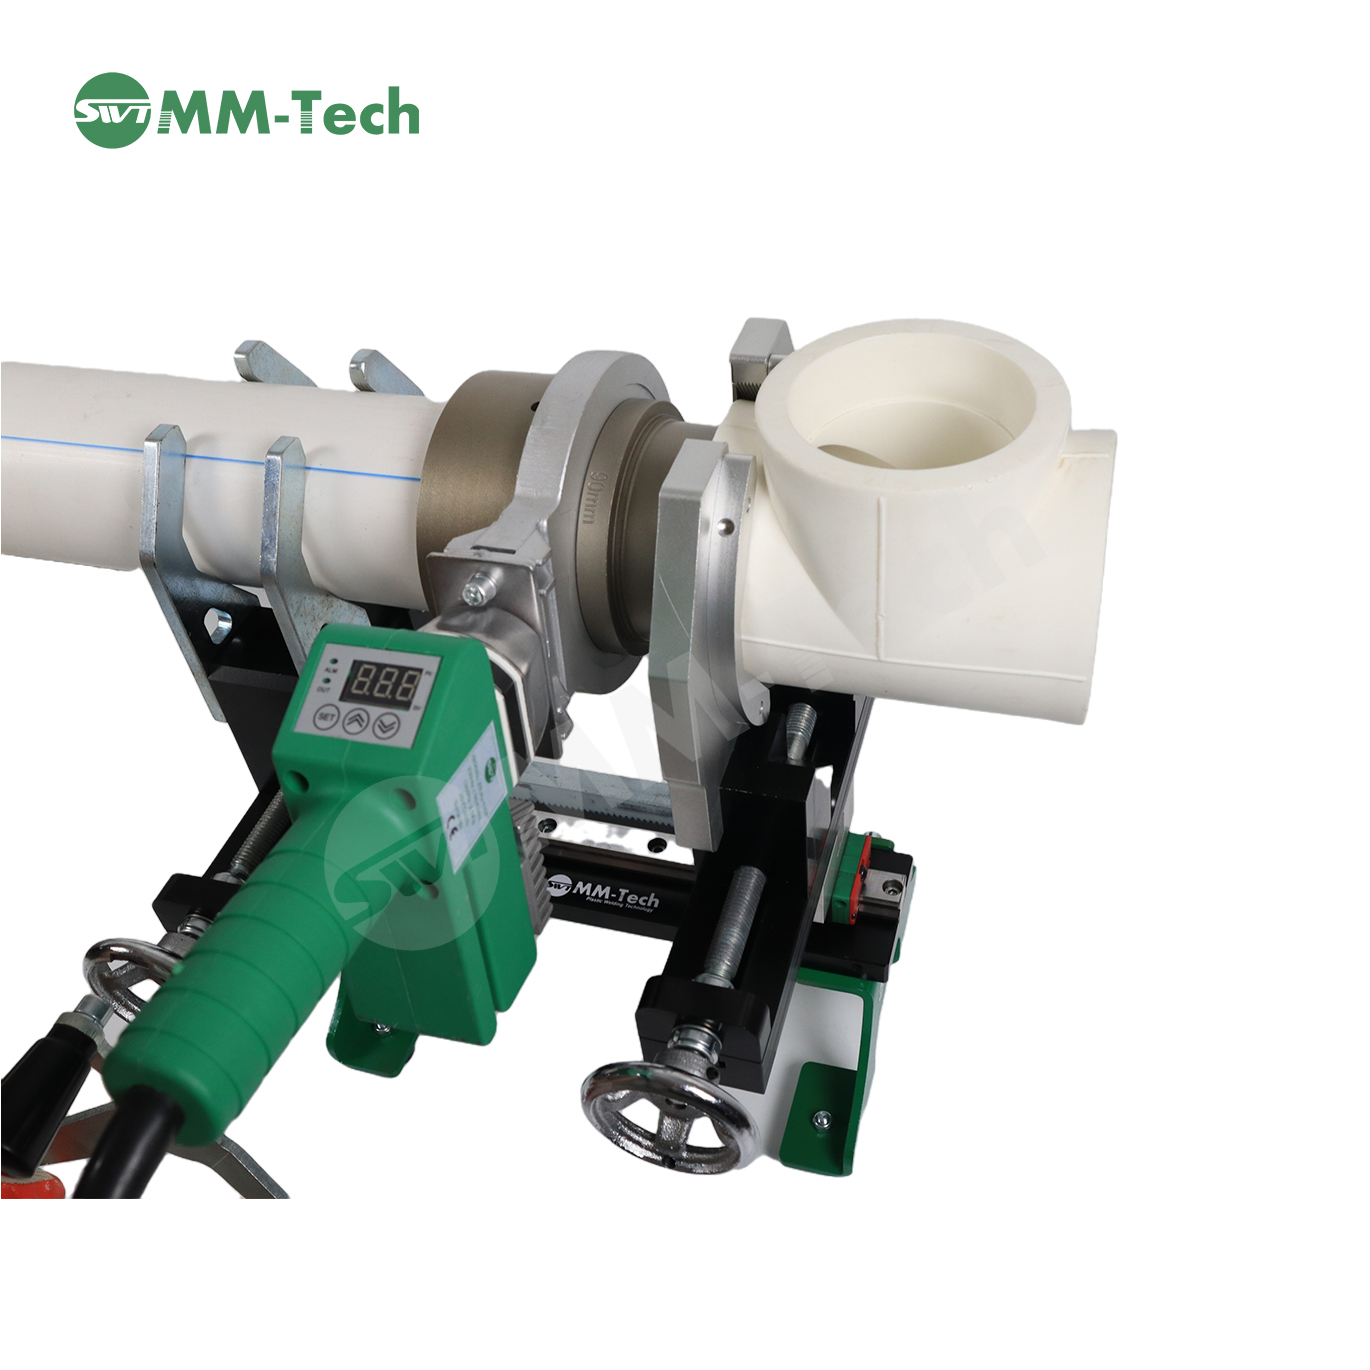
Align the pipe and fitting. Make sure the positioning of the pipe is straight and the fitting is fully seated.
Set your PPR welding machine to the correct temperature. For PPR, heat the components at 260 ° C ± 10 ° C.
Check the table below for the right heating time based on pipe diameter:
Rohrdurchmesser
Aufheizzeit
20 mm
5 Sekunden
63 mm
24 Sekunden
Insert both the pipe and fitting into the heating plate. Heat the components without twisting.
When the time is up, quickly remove both parts. Join the heated components by pushing the pipe into the fitting straight to the mark. Do not twist or push past the mark.
Hold the assembly steady until the pipe to pipe weld sets.
Tip: Avoid twisting during insertion. Twisting can break molecular bonds and create weak joints.
Kühlung und Inspektion
Let the pipe to pipe weld cool before handling or pressure testing. Use the table below for cooling times:
Rohrdurchmesser (mm) | Cooling Time (minutes) |
|---|---|
max. 25 | 3 - 5 |
32 - 50 | 5 - 10 |
Über 50 | 10 - 20 |
After cooling, inspect the welded joint. Look for a smooth, even surface. The color should be uniform. Check for cracks, bubbles, or burn marks. These signs show poor fusion or overheating. Examine the socket area and internal surfaces for rough edges or voids. A good weld means a strong, leak-free connection.
Callout: Always pressure test the system after welding. This ensures the pipe to pipe weld holds under real conditions.
Fehlerbehebung und Sicherheitstipps
If you find leaks or weak spots, follow these steps:
Find the exact leak location. Look for cracks or holes.
Schalten Sie die Wasserversorgung aus.
Cut out the damaged section with a pipe cutter.
Clean the ends of the remaining pipes.
Install new fittings and connectors using your PPR welding machine.
Weld the pipes together again, making sure there are no gaps.
Insulate the joint and check for leaks after turning the water back on.
For small leaks, use a PPR repair clamp or epoxy putty. For larger cracks, wrap a rubber sheet and secure it with hose clamps.
Stay safe during every welding procedure. Wear safety goggles, heat-resistant gloves, and protective clothing. Make sure your workspace has good ventilation. Set the machine temperature correctly and monitor it. Keep first aid supplies nearby. Turn off the machine when not in use.
Sicherheitsvorkehrung | Beschreibung |
|---|---|
Verwenden Sie hitzebeständige Handschuhe | Prevent burns; replace if damaged |
Sorgen Sie für eine ausreichende Belüftung | Avoid breathing PPR fumes |
Set temperatures correctly | Prevent overheating or weak joints |
Monitor heating plate temps | Ensure weld quality |
Follow timing recommendations | Avoid poor fusion or material damage |
Keep first aid supplies | Treat burns and injuries |
Turn off equipment | Prevent accidents and machine damage |
Regular cleaning and maintenance of your PPR welding machine keeps it reliable. Clean the heating plate, check cables, and store the machine in a dry place. Avoid leaving the machine idle for long periods.
Remember: Careful preparation, correct alignment, and following the step-by-step welding procedure will give you strong, long-lasting pipe to pipe weld results.
You can make strong and leak-free pipe connections with the MM-Tech PPR welding machine if you follow every step. It is important to get ready and line up the pipes the right way.
If PPR fittings are not lined up, the joints can get stressed. This can cause leaks or even make the pipe break.
Check your work often um Probleme frühzeitig zu erkennen.
Clean the pipes and watch the water pressure to stop issues.
Checking your work often helps your welds stay strong.
FAQ
How do you clean the MM-Tech PPR welding machine?
You wipe the heating plate with a soft cloth after each use. This keeps your welds strong and extends your machine’s life.
Can you weld different pipe sizes with one machine?
Yes! You can use the MM-Tech PPR welding machine with various pipe sizes. Just switch the heating sockets to match your pipe diameter.
What should you do if the weld leaks?
Cut out the faulty section. Clean the pipe ends. Weld a new fitting. This ensures a strong, leak-free connection every time.